Chances are, you’re already aware of the numerous advantages of immersing yourself in icy-cold water, particularly in terms of training and recovery. If you’re thinking about embarking on an ice bath journey in the comfort of your home, whether it’s for convenience, privacy, cost-effectiveness, or flexibility, we’ve got you covered with all the guidance you need to make the most of this experience. In this article, we’ll provide step-by-step instructions on how to create the ultimate ice bath setup at home to ensure an optimal encounter and be the best version of yourself!
Creating the Perfect At-Home Ice Bath Setup:
Step 1: Make sure you have whatever you need after the plunge ready to go, grab a bathrobe or towel, boil the kettle for a warming tea. This eliminates the need to scramble around feeling like a frozen popsicle trying to find what you need. Keep a towel or two handy for drying off, and ensure you have warm clothing to change into immediately after leaving the tub.
Step 2: Fill the Tub with Cold Water. If you don’t have a tub, be creative. You can use a barrel, a rubbish bin or anything else you can comfortably fill with water and immerse yoursrelf in. Now slowly add your bags of ice while keeping an eye on the temperature. Aim for a water temperature that you can tolerate, If you’re new to ice baths or have a lower cold tolerance, it’s perfectly fine to begin around 12-15°C.
Step 3: Set a Timer Generally, 2-3 minutes are sufficient to bank benefits from the ice bath, so that is a great place to aim for. If you are new to cold water exposure, you can start with 30 seconds – 1 minute and gradually increase the time over the course of 1-4 weeks.
In most cases, we don’t recommend cold water exposure beyond 10 minutes.
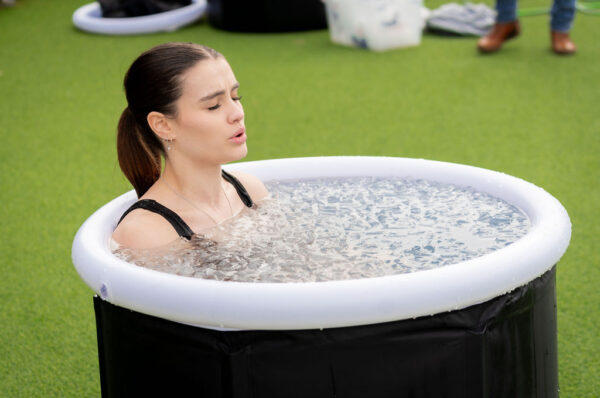
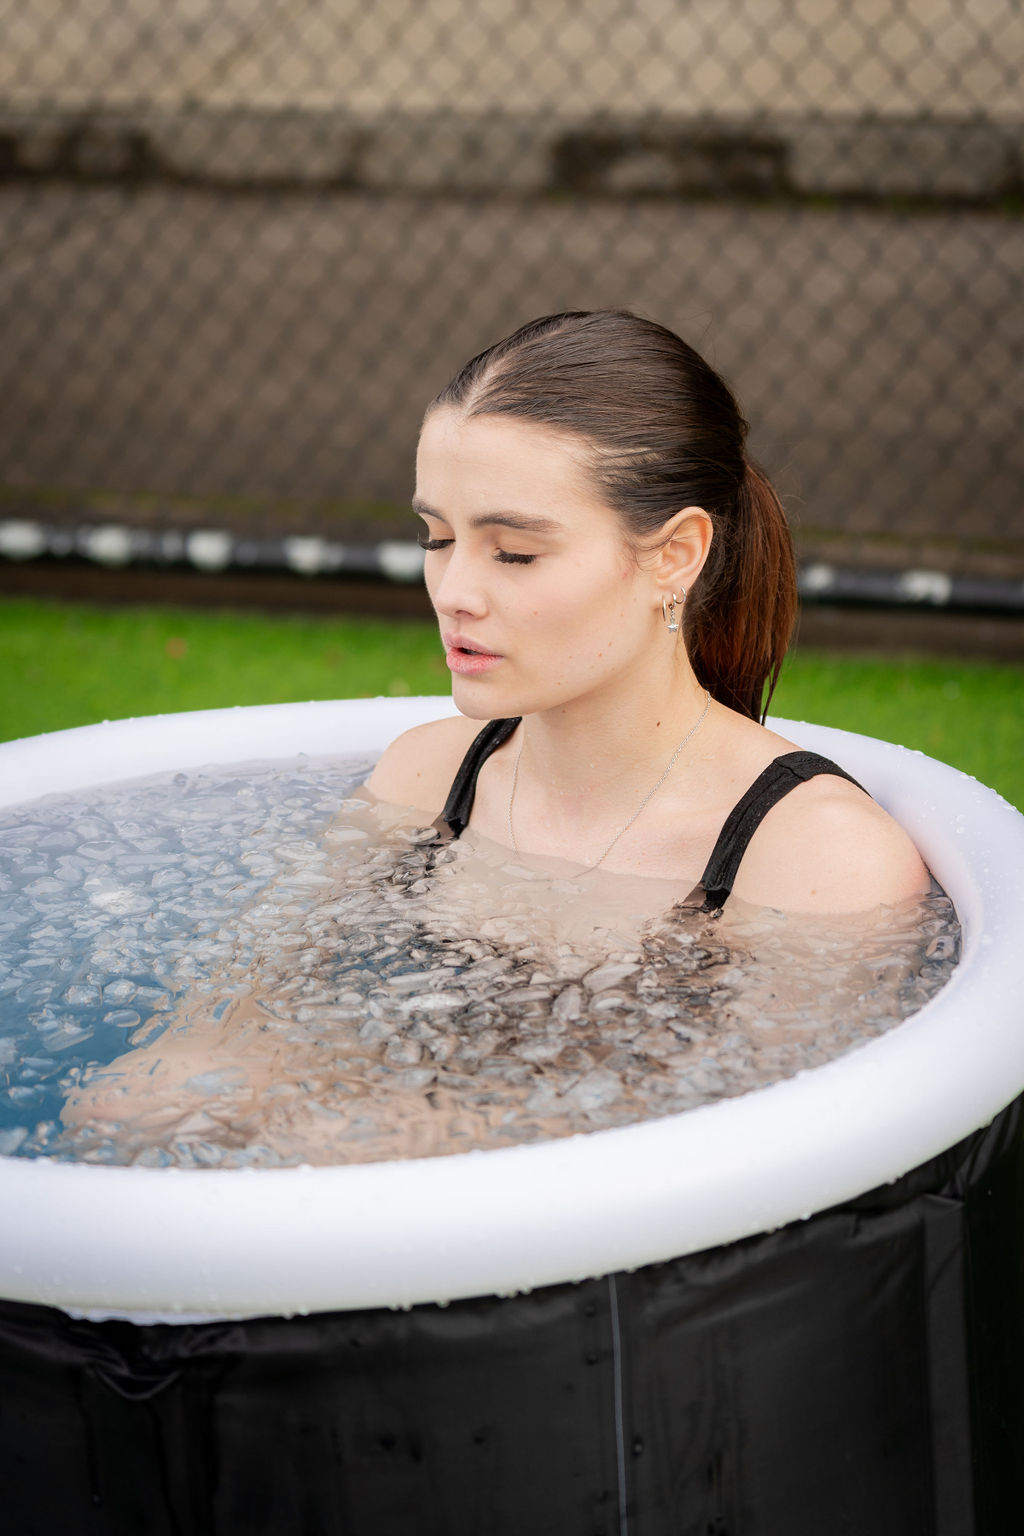
Step 4: Take 3-4 deep breaths and enter the ice bath slowly following a big exhale, immerse yourself slowly and take a deep breath.
Step 5: Focus on Your Breathing Upon entering the tub, you’ll experience an immediate shock to your system—this is the desired effect. Initially, your breaths will be shallow; you can try box breathing for a count of 4. Aim for a breathing rate of 5-8 breaths per minute. For a more detailed breathing protocol, check out the legend Wim Hof here.

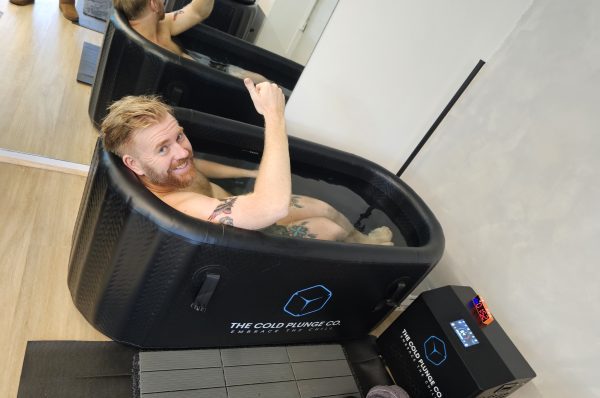
Step 6: You made it! Give yourself a imaginary high five and slowly exit the bath. Gently dry yourself off and observe the sensations across your body. It generally takes your body 15-20 minutes to warm up. If you would like to speed up the process, consider some light exercises, such as jumping jacks, chair pose, upward dog to downward dog, or squats.
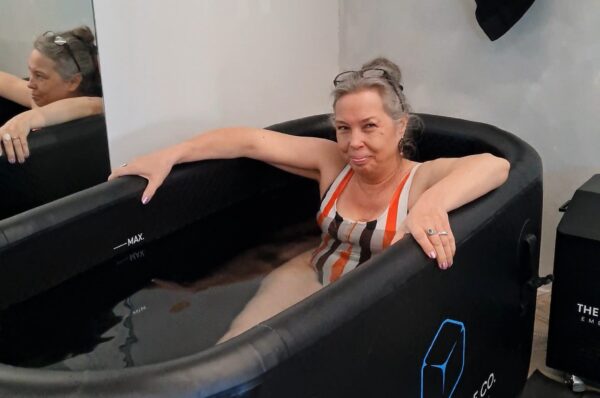
Limitations of DIY Ice Baths: While setting up your own ice bath is relatively straightforward, there are a few downsides. Despite its simplicity, the daily or consistent setup can be cumbersome and not particularly enjoyable. Manual temperature control is unavailable, and the process can be time-consuming and potentially messy. Additionally, you’ll need to purchase bags of ice for each session.
Check out our premium ice bath’s and cold plunge setups here
However, if you are looking for a more consistent ice bath experience, a more straightforward solution exists. As mentioned earlier, The Cold Plunge Co. ice bath setups will be a much better experience by saving time and effort during your sessions. You can regulate the temperature, use it indoors or outdoors, and benefit from icy cold and clean water, whenever you are ready to embrace the chill.